Scan Session
The scan session function enables the user to scan multiple parts without having to specify a usage for the list of scanned parts.
Menu Path: Purchasing, Scan Session, Scan Session screen
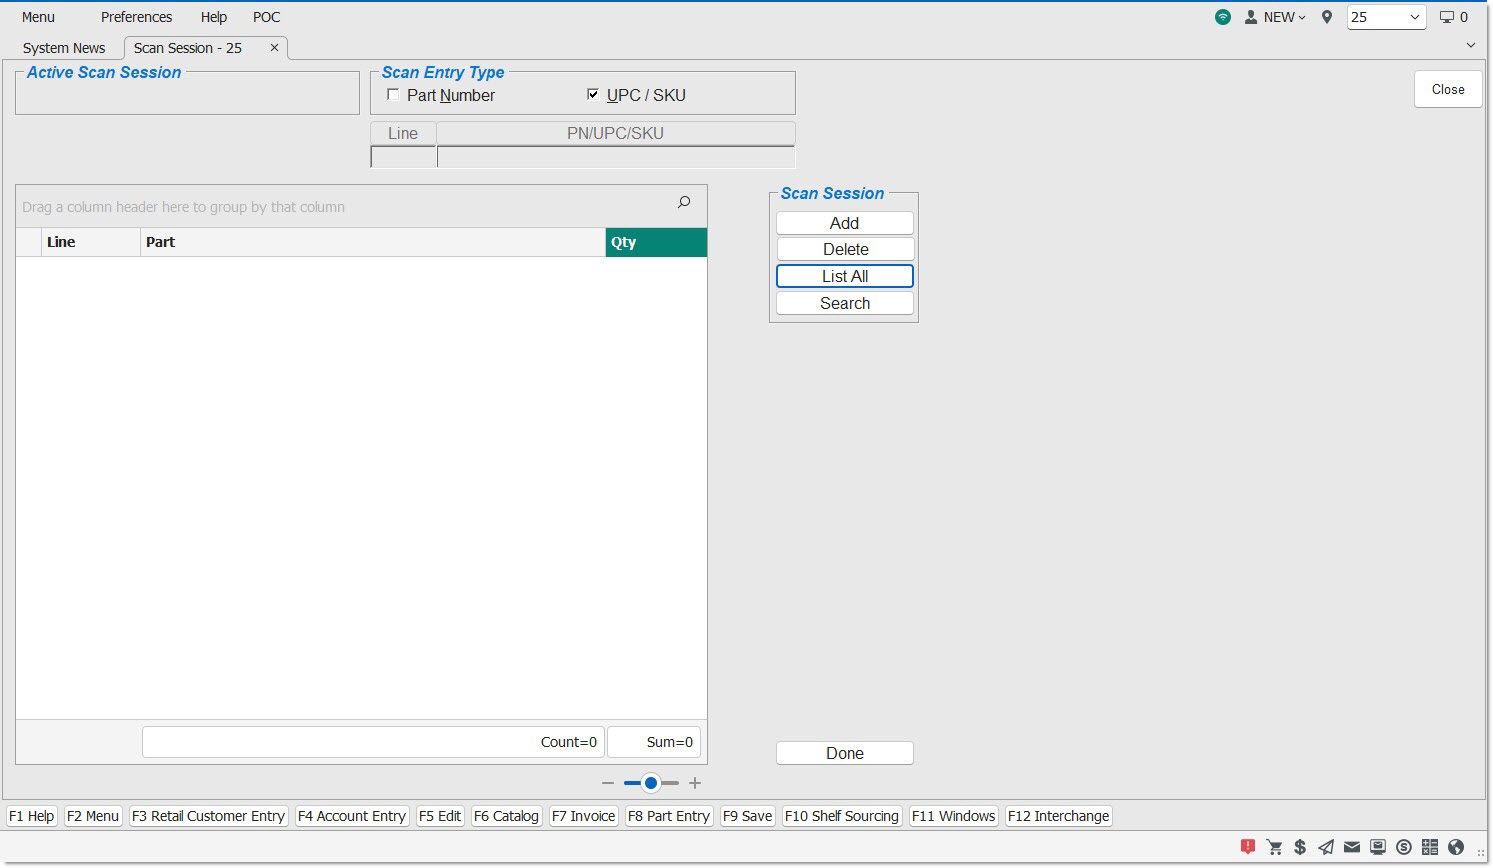
Active Scan Session
Populates when an Active Scan Session has been selected.
Scan Entry Type
Determines how the scan session will display part information, only one checkbox can be selected at a time.
Part Number
Determines how the scan session will display part information.
-
Checked - Displays the part information by Part Number.
-
Unchecked - Application automatically checks the 'UPC/SKU' box and displays information by UPC/SKU.
UPC / SKU
Determines how the scan session will display part information.
-
Checked - Displays the part information by UPC/SKU.
-
Unchecked - Application automatically checks the 'Part Number' box and displays information by Part Number.
Line
Allows a Line Code to be entered to search for a session.
If parts are found in a session with the entered Line Code, that session is displayed in the list.
PN/UPC/SKU
Allows a 'PN/UPC/SKU' to be typed in to search for a session.
If parts are found in a session with the entered Part Number (exact match only), that session is displayed in the list.
Grid
Displays information on the parts being scanned in.
MFG
Displays the manufacturer line code.
Part
Displays the part number.
Qty
Displays the quantity of the part that is being scanned in.
Add
Allows the creation of a new scan session.
Delete
Allows the deletion of a previously created scan session, when a scan session is selected.
List All
Displays the 'Browse Scan Sessions' pop-up so that the Scan Session can be searched for by either typing a full or partial name, or selecting one of the Scan Session values from the drop-down list.
Only one scan session can be selected at one time.
Search
Displays the 'Search Scan Sessions' pop-up so that a Scan Session can be searched for by entering a 'Line' and 'P/N', or selecting one of the Scan Session values from the drop-down list.
Only one scan session can be selected at one time.
Find
Displays a line code in the first box and a part number in the second box to search for a part number. Or, enter a part number without a line code. Or, click the 'Find' button to display the 'Find Part' window to search for a part. When a part is found, the cursor moves to that part in the grid.
Done
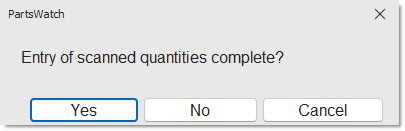
Displays a pop-up asking if "Scanning of received quantities complete?"
Clicking 'Yes' returns to the screen with the Scan Session in 'CMP' status.
Clicking 'No' returns to the screen with the Scan Session in 'INPRG' status.
Total Units
Displays the total number of units of the parts scanned.
Total Parts
Displays the total number of parts scanned.
Starting a Scan Session
-
In order to start a new scan session, first select a scan session name by clicking the 'Add' button in the 'Scan Session' section.
-
Enter a name and click the 'Close' button.
-
Continue using an existing session. In order to select the desired scan session, click the 'List All' or 'Search' buttons in the 'Scan Session' section.
-
Click the 'List All' button, a 'Browse Scan Sessions' pop-up displays with three columns: (Session) 'ID', (Session) 'Name', and (Session) 'Status'.
-
Only one session can be selected from the pop-up.
-
The default status will be "All" but the user can filter the list by selecting other statuses of "Cmp", "Incmp", or "InPrg". Note: Each scan session can have a 'Status' of 'In Progress' ('Inprg'), "Incomplete" ('Incmp'), or "Complete" ('Cmp'), similar to the same three statuses used in the RF Device functions Scan Session and PO / ASN Receipt.
-
Type in full or partial name text above the list to search for a Session Name.
-
Select the same session that another user has already started. This enables any number of users to scan a list of parts concurrently and therefore more quickly. For example, a list of thirty parts can have ten parts scanned by User A, ten parts scanned by user B and the remaining ten parts scanned by user C.
-
Clicking the 'Cancel' button will return to the screen.
-
Clicking the 'Ok' button, with a selected session, will populate the 'Active Scan Session'.
-
Click the 'Search' button, a 'Browse Scan Sessions' pop-up displays with three columns: (Session) 'ID', (Session) 'Name', and (Session) 'Status'.
-
Only one session at a time can be selected from the pop-up.
-
The default status will be 'All' but the list can be filtered by selecting other statuses of 'Cmp', 'Incmp', or 'Inprg'.
-
Type in a 'Line Code' or 'Part Number' above the list to search for a Session:
-
If parts are found in a session with the entered 'Line Code', that session is displayed in the list.
-
If parts are found in a session with the entered 'Part Number' (exact match only), that session is displayed in the list.
-
Click the 'Line' or 'P/ N' buttons to select a searchable 'Line Code' or 'Part Number' from a pop-up.
-
-
It is possible to select the same session that another user has already started.
-
Clicking the 'Cancel' button will return to the screen.
-
Clicking the 'Ok' button, with a selected session, will populate the 'Active Scan Session'.
Scanning Parts
-
Once an 'Active Scan Session' exists, begin scanning parts.
-
When a part is scanned, the PC terminal makes an audible "beep", and the part is added into the grid, with the line code, part number and the scan quantity.
-
As parts are scanned, they will continue to be added to the grid, and they are also updated in the application database. Note: Therefore, in the event of a PC problem, all scanned parts will not need to be scanned again.
-
The application validates that each part scanned exists either in the store's inventory (parts table) or the store's virtual inventory (nonsku table). If the part number is not found in either table, the application makes an audible "buzz", and displays a prompt "Part not found".
-
The application does not perform any validation checking for any parts scanned or entered on any open documents (e.g. purchase orders, ASNs, return orders or manifests).
-
As parts are scanned and added to the grid, a count of the 'Total Units' and 'Total Parts' are displayed at the bottom of the screen under the 'Find' button. In the sample screen above, seven parts have been scanned and the total units are sixteen.
-
For each part added to the grid, the default quantity of 1 will typically be displayed. This value can also be manually edited on the GUI screen. For example, if there are 15 items of a part in the container being received, after one item is scanned, manually update the received quantity from 1 to 15 on the GUI screen. Also, it is possible to scan one of the items 15 times, or scan each of the 15 items once to obtain a quantity of 15 on the GUI screen.
-
The quantity added to the grid is actually based upon the part's bar code pack quantity. Since most parts have an "Each" bar code pack quantity, the received quantity will typically be a value of 1. However, parts may also contain non-each bar code pack quantity values if the unit of measure is a "Box" (e.g., 6 part items are "packed" in one box) or several other units of measure. In this instance, if the bar code is scanned on the box instead of the bar code on the part, then the received quantity added to the grid will be a value of 6 instead of 1. If the bar code is then scanned on a second box, then the received quantity will now display 12 incremented by another quantity value of 6. If the bar code is then scanned on one part taken out of a third box, then the received quantity will now display 13 incremented by a received quantity value of 1.
-
The application will honor the switch 'Prompt to Add Bar Codes' ("in purchasing") setting.
-
In addition to saving 'Line', 'Part Number', and 'Scan Quantity', the application also saves the 'User ID' of the user who scanned each part, and the 'Last Update Date' for each part scanned, but does not display these additional fields.
-
The application aggregates the 'Scan Quantity' ('Qty') and saves only one row in the system for any 'Part Number scanned multiple times. The application save (but doesn't display) the 'User ID' of the last user to scan a 'Part Number' since multiple users can scan the same 'Part Number' within the same session.
-
The application displays up to about twenty 'Part Numbers' on a screen in order of the 'Last Update Date' in ascending order so the last Part Number scanned will display at the bottom of the list.
-
If the 'Scan Quantity' ('Qty') of any 'Part Number' is set to zero, remove the part from the screen and move any 'Part Numbers' below that 'Part Number' up.
-
As parts are scanned and added to the grid, if more parts are scanned than can be displayed on one screen, then a vertical scroll bar will be displayed enabling the user to scroll through all of the scanned parts.
Deleting a Scanned Part
-
Once a part is scanned or manually entered, the part cannot be deleted from the scan session.
-
However, within a scan session, manually update the part's received quantity to zero.
Ending a Scan Session
A 'Done' button is displayed just below the grid on the right. When clicked, a pop-up will be displayed prompting to indicate whether the scanning of all part receive quantities is completed.
-
If the 'Yes' button is clicked, the session will be saved with a 'Complete' status.
-
If the 'No' button is clicked, the session will be saved with an 'Incomplete' status.
-
If the 'Cancel' button is clicked, the system returns to the screen, and the status of this session remains 'In Progress'.
Deleting a Scan Session
-
Only scan sessions currently saved in an 'Incomplete' status can be deleted by clicking the 'Delete' button.
-
When the 'Delete' button is clicked, then the 'Scan Session Incomplete' pop-up will be displayed requesting the selection of one session that is currently in an 'Incomplete' scanning status.
-
If a session is selected the 'Ok' button is clicked, then the pop-up will be closed and the selected scan session will be deleted.
-
If a session is selected and the 'Cancel' button is clicked, then the pop-up will be closed but the selected session will not be deleted.
-
If just the 'Cancel' button is clicked, then the pop-up will be closed and no session will be deleted.
-
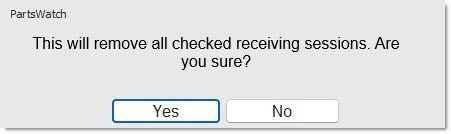
When the 'Delete' button is clicked, if a current scan session is in progress, then the following pop-up will first be displayed prompting to indicate whether or not the current scan session is complete.
-
Since a session cannot be deleted when the scanning session is in a 'Complete' status, the 'Yes' button should not be clicked if the current scan session should be deleted.
-
When the 'No' button is clicked, the scan session will be deleted.
-
When the 'Yes' or 'No' button is clicked, after the above pop-up is closed, then the POs / ASNs Incomplete pop-up will be displayed requesting to indicate which PO / ASN, currently in an 'Incomplete' status, should be deleted.
Pausing a Scan Session
-
If the scan session needs to be interrupted before it is completed, the 'Done' button can be clicked.
-
When the 'Done' button is clicked, and a scan session is in progress, the following pop-up will be displayed to indicate whether or not the scanning of all parts is completed.
-
When the 'Yes' button is clicked, the scan session will be set to a 'Complete' scanning status.
-
When the 'No' button is clicked, the scan session will be set to an 'Incomplete' scanning status.
-
When the 'Cancel' button is clicked, the system returns to the active scan session.