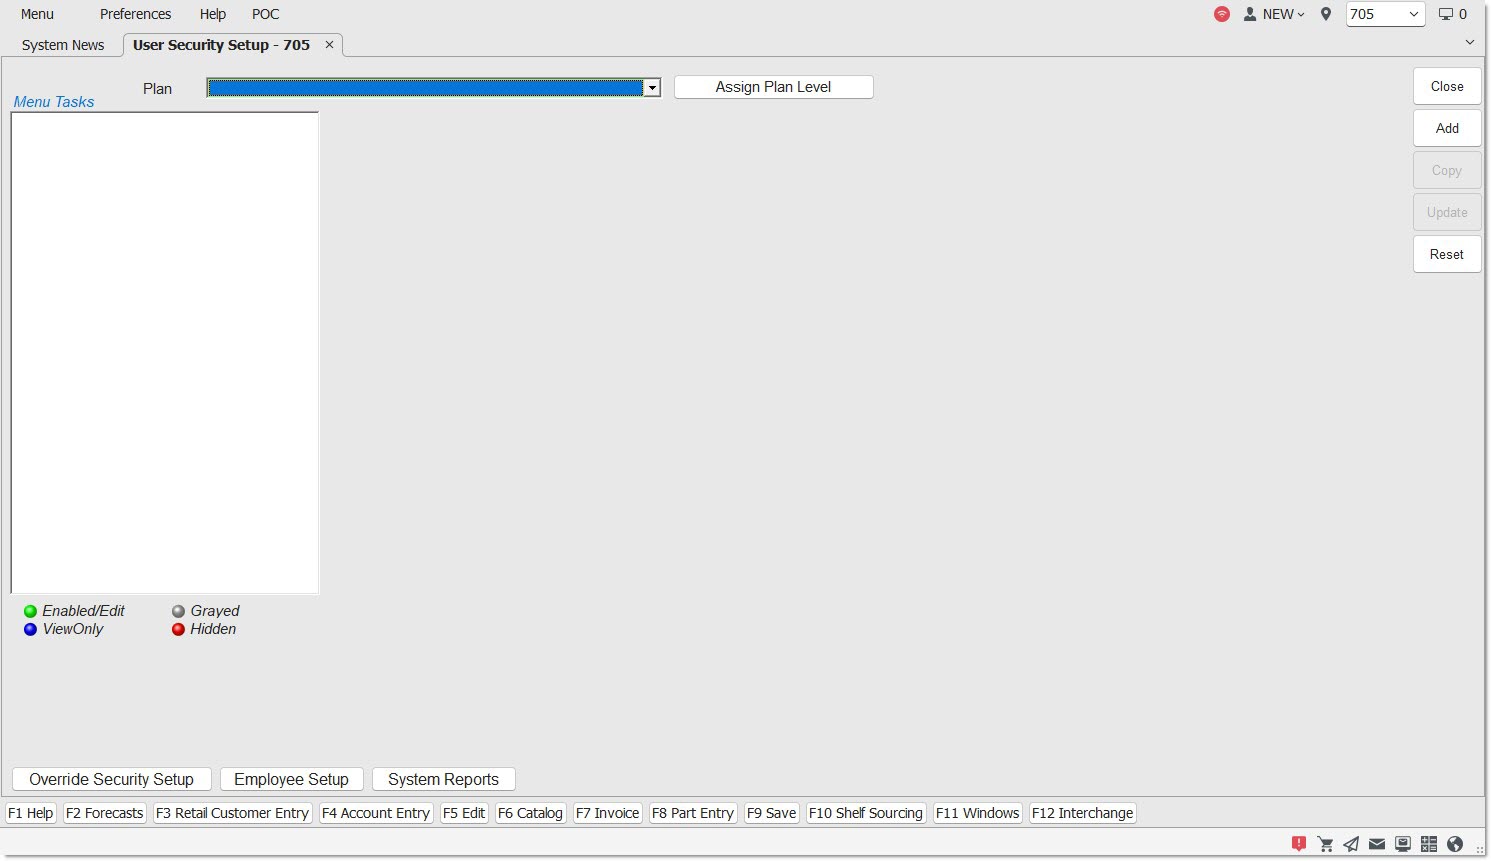
User Security Setup
The USER SECURITY SETUP screen can create a very fine-grained level of permissions that allow or restrict access and functionality for a group of employees or per employee, as needed.
User security setups or "plans" should be defined by a "chain of command" of "who" is allowed to do "what". They should also ensure that all employees can access the information needed to perform their jobs, while at the same time, restricting them from accessing secured information.
The first step is distinguishing the skill levels between employees with similar jobs. Administrators may be able to add, edit, and view data throughout the application, while managers can view and edit data relating to their jobs, but not delete it. Counterpersons may be able to use the data for lookup, sales, and returns but not be able to add, edit, or delete it.
Therefore, when setting up plans, try to make the least number of plans for the most employees.
Menu Path: Controls, System, User Security, USER SECURITY SETUP screen
![]() Enable/Disable Screen Menus - 4 minutesEnable/Disable Screen Menus - 4 minutes
Enable/Disable Screen Menus - 4 minutesEnable/Disable Screen Menus - 4 minutes
About
Adding Plans
Editing Plans
Setting Up Menus
Setting Up Restrictions
Copying Plans
Assigning Employee Plans
Reporting Plans
Assigning Plan Levels
1. Enter a new plan or select one from the 'PLAN' drop-down.
"Plans" are used to name the "roles" that identify the permissions needed. For example, preset plans are named: Administrator, Regional Store Manager, Store Manager, Counterperson, and Driver.
Adding Plans
Click the 'ADD' button and the cursor moves to the 'PLAN' field. Enter up to 60 alphanumeric and special characters representing the "role" that will be using the plan, and press the 'Enter' key to populate the screen.
Editing Plans
Select a plan from the drop-down list. To select a different plan, click the 'RESET' button to clear the existing plan before selecting another one.
Setting Up Plans
Two types of securities can be set up per plan:
- 'MENU TASKS'
- 'RESTRICTIONS'
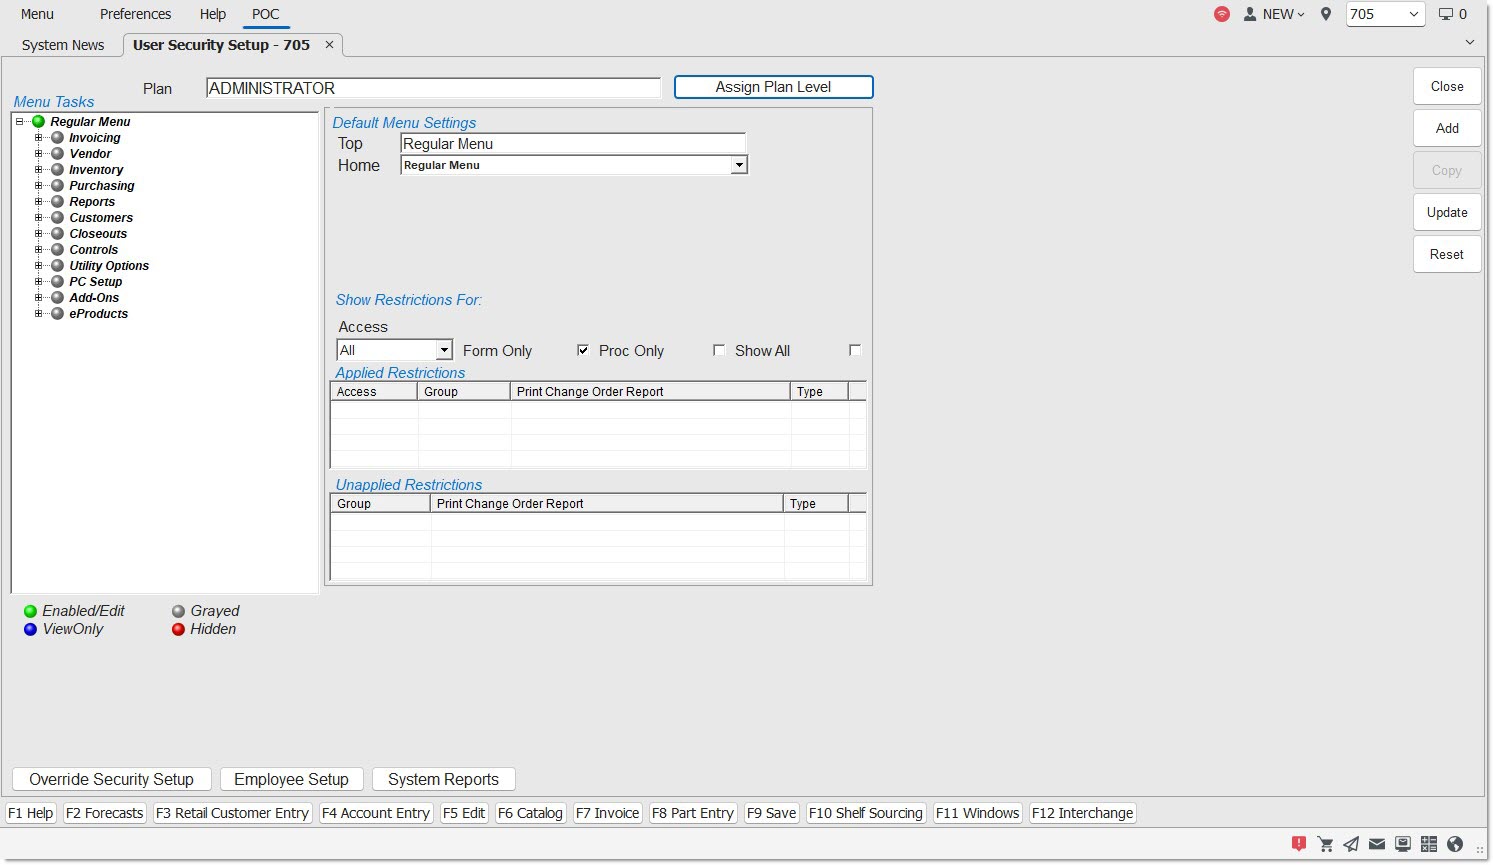
2. Set up screen access.
The 'MENU TASKS' section on the left side of the screen is used to enable/edit, view-only, gray-out, or hide menus or sub-menus leading to the screens.
By default, when a new plan is added, all menus are 'Grayed' out and not available.

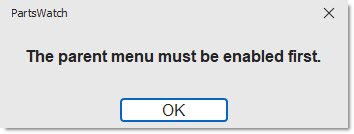
Main or top-level menus must be enabled before screen-level menus can be enabled. If a sub-menu is highlighted before a main menu, a notification opens to first enable a main menu.
To enable a main menu, highlight the menu, and 'DEFAULT MENU SETTINGS' displays to the right of the 'MENU TASKS'.
Check the level of permissions allowed for the menu:
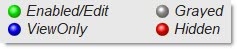
- 'HIDDEN' - The menu does not display. Therefore, the screen cannot be accessed.
- 'GRAYED' - The menu displays but is not enabled. Therefore, the screen cannot be accessed.
- 'ENABLED' - The menu displays and is enabled. The screen can be accessed and edited.
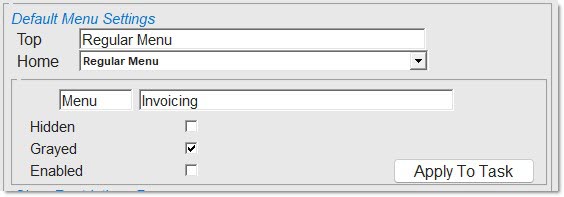
Click the 'APPLY TO TASK' button to save the change. If a change is made and anything else is clicked before clicking the 'APPLY TO TASK' button, the system will ask to abandon the changes.
Answer 'YES' to abort the change or 'NO' to save the change.

To enable a menu that opens a screen, highlight the menu, check the 'ENABLED' checkbox, and two additional fields will display to identify the level of permissions on the screen:
- 'VIEW ONLY' - Data can be viewed on the screen, but cannot be added, edited, or deleted.
- 'ALLOW EDIT' - Data can be added, edited, and/or deleted on the screen.
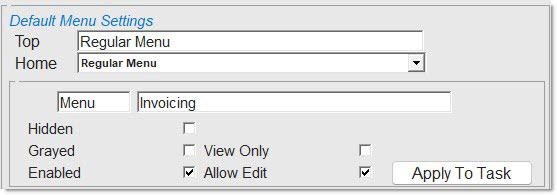
Click the 'APPLY TO TASK' button to save the change. If a change is made and anything else is clicked before clicking the 'APPLY TO TASK' button, the system will ask to abandon the changes. Answer 'YES' to abort the change or 'NO' to save the change.
TOP/HOME
The 'TOP' field is used for information only. The 'HOME' field is used to define the screen that opens when the employee logs in. For example, set the 'HOME' field to 'INVOICING SCREEN' and when a counterperson logs in, they are taken to the Invoice Point of Sale screen without any further keystrokes.

3. Set up restrictions.
Restrictions, also called "procs" (processes) are used to allow or deny access to data fields, buttons, and processes, which display in the:
All procs that have been edited are displayed in the 'APPLIED RESTRICTIONS' grid regardless of whether they permit or deny access:
- 'ACCESS' - Permissions level: 'ALLOW EDIT', 'VIEW ONLY', 'NOT VISIBLE'
- 'GROUP' - Module, i.e. Invoicing, Reports, etc.
- 'TITLE' - Restriction name
- 'TYPE' - 'PROC' (process), 'FORM' (screen)
Any procs that have not been edited are displayed in the 'UNAPPLIED RESTRICTIONS' grid, and once edited, move into the 'APPLIED RESTRICTIONS' grid:
- 'GROUP' - Module, i.e. Invoicing, Reports, etc.
- 'TITLE' - Restriction name
- 'TYPE' - 'PROC' (process), 'FORM' (screen)
User Security Restrictions - 17 Pages
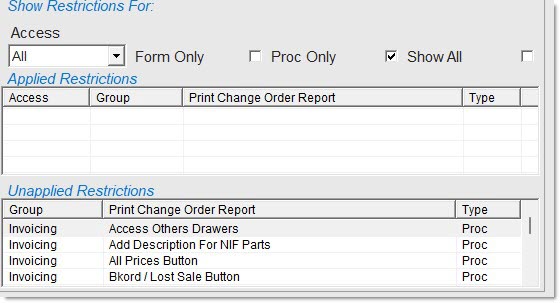
The following fields are used as filters to display/not display restrictions in the restrictions grids to make a restriction easier to locate.
FORMS ONLY
The 'FORMS ONLY' flag defaults to checked when a menu that leads to a screen is highlighted in the 'MENU TASKS' section. Only restrictions specific to that screen are displayed in the restrictions grids.
PROC ONLY
Check the 'PROC ONLY' flag and the 'MENU TASKS' section clears. Only restrictions with the 'TYPE' of ‘PROC’ are displayed in the restrictions grid.
SHOW ALL
Check the 'SHOW ALL' flag and the 'MENU TASKS' section clears. All restrictions are displayed in the restrictions grid.
ACCESS
Select a value from the drop-down list to display only restrictions set up for that permissions level:
- 'ALL'
- 'ALLOW EDIT'
- 'VIEW ONLY'
- 'NOT VISIBLE'
The column headers in both grids can be clicked to reorder the rows. For example, click the 'TITLE' column header to display the restrictions in alphabetical order or click the 'GROUP' column header to display the restrictions by module.
Changing Permissions
To change permissions, highlight a restriction in either grid and the 'DEFAULT MENU SETTINGS' display above the restrictions section.
Check the level of permissions allowed for the restriction:
- 'NOT VISIBLE' - The field, button, or process does not display.
- 'VIEW ONLY' - The field, button, or process displays but is not enabled.
- 'ALLOW EDIT' - The field, button, or process displays and is enabled.
Click the 'APPLY TO TASK' button to save the change. If a change is made and anything else is clicked before clicking the 'APPLY TO TASK' button, the system will ask to abandon the changes. Answer 'YES' to abort the change or 'NO' to save the change.
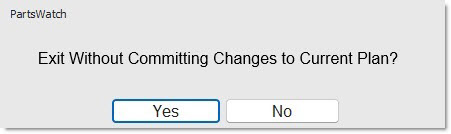
Once all changes are made to a 'PLAN', click the 'UPD' (update) button to save all changes. If the 'UPD' button is not clicked, the system asks to exit without saving changes.
Answer 'YES' to exit without saving changes or 'NO' to save changes.
Copying Plans
To copy an existing plan setup to a new plan, select the existing plan in the 'PLAN' field and click the 'COPY' button.
Enter a new 'PLAN' name in the 'PLAN' field and press the 'Enter' key to enable the 'UPD' (update) button.
Click the 'UPD' button to copy the existing plan to the new plan.
A pop-up opens when finished.
Assigning Employee Plans
Once a plan is created, it can be linked to any and all employees that will be tracked under that plan to access/restrict functionality throughout the PartsWatch application. Select the plan from the 'SECURITY GROUP' drop-down on the EMPLOYEE SETUP screen to assign the plan to the employee.
Reporting Plans
Security setups can be reported from the SYSTEM REPORTS screen.
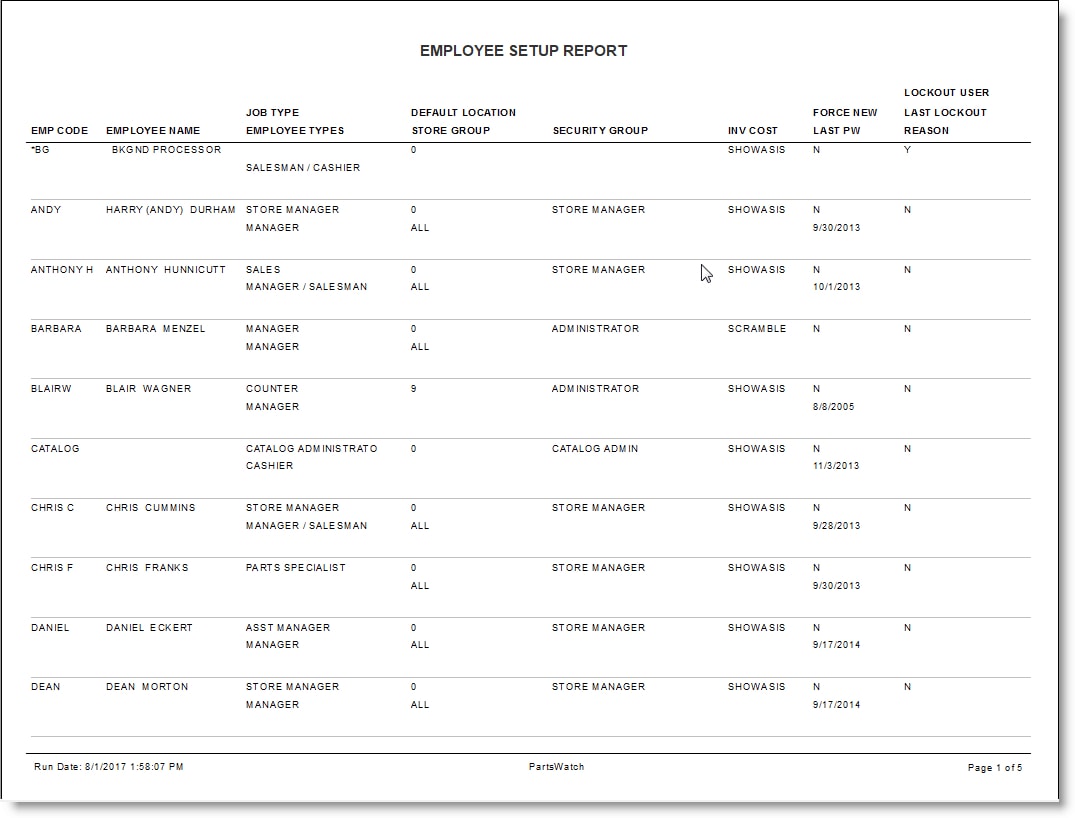
The 'EMPLOYEE SETUP REPORT' outputs a list that includes the security plan for each employee.
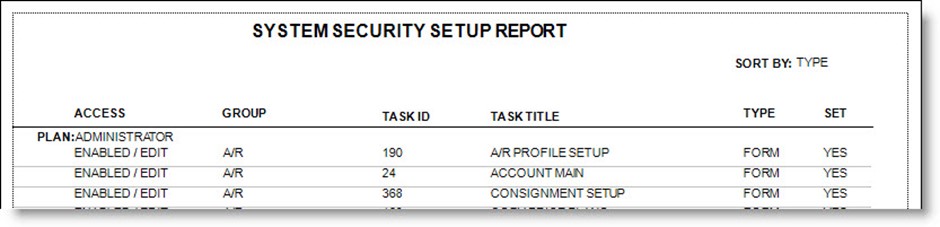
The 'SYSTEM SECURITY SETUP REPORT' outputs the restrictions per 'PLAN'.
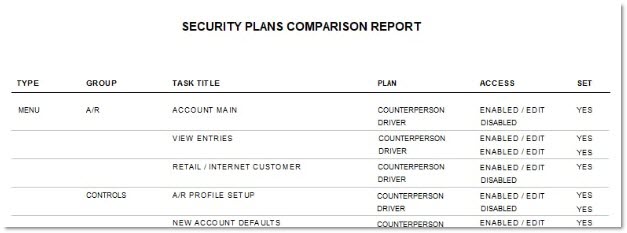
The 'SECURITY PLANS COMPARISON REPORT' outputs the setups from two plans to assess the differences.
Assign Plan Level
Click the 'ASSIGN PLAN LEVEL' button opens the PLAN LEVEL SECURITY screen used to assist in controlling what an employee with edit capabilities can do while accessing the EMPLOYEE SETUP screen and the 'EMPLOYEE SECURITY' and 'EMPLOYEE PAY INFO' windows.
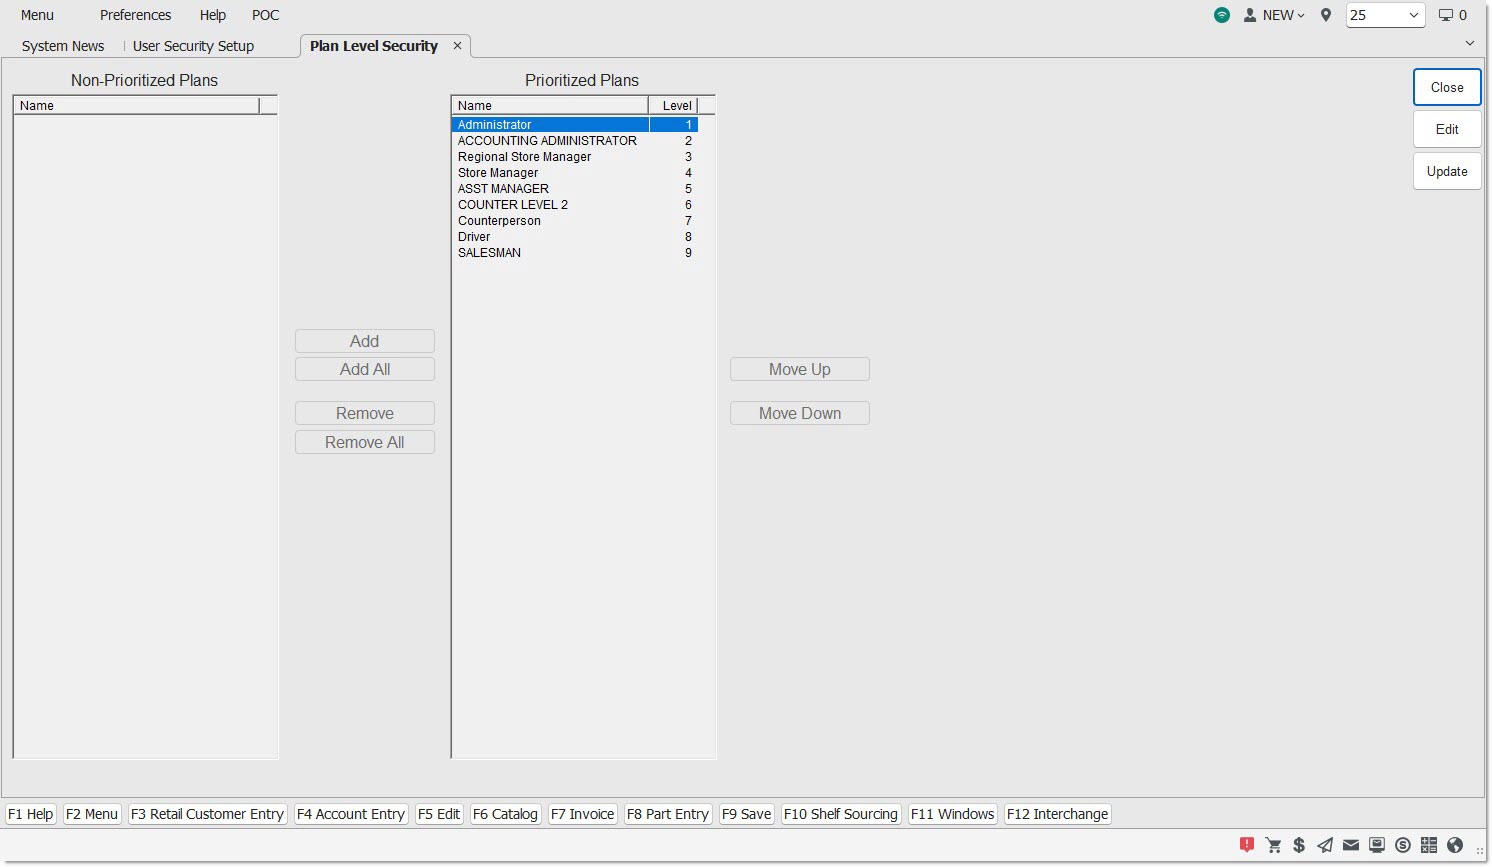
Plan Level Security
The PLAN LEVEL SECURITY screen is used to rank the level of authority to the security plans, to assist in controlling what an employee with edit capabilities can do when accessing the EMPLOYEE SETUP screen and the 'EMPLOYEE SECURITY' and 'EMPLOYEE PAY INFO' windows.
Menu Path: Controls, System, Plan Level Security, PLAN LEVEL SECURITY screen
Menu Path: Controls, System, User Security, USER SECURITY SETUP screen, 'ASSIGN PLAN LEVEL' button
Note: The 'EDIT' button must be enabled to edit the screen. The 'UPD' (update) button must be clicked to save changes. If the screen is closed without updating, the system prompts to save the changes.
Accelerator keys are 'F5' to 'EDIT' and 'F9' to 'UPD' (update).
Prioritize Plans
All plans in the 'NON-PRIORITIZED PLANS' list are not prioritized and all plans in the 'PRIORITIZED PLANS' list are prioritized.
To prioritize a plan, highlight a row, hold the 'Ctrl' key down and click any number of rows, or hold the 'Shift' key down and click the start and end rows to select those rows in the 'NON-PRIORITIZED PLANS' list.
Click the:
- 'ADD' button to move the selected plans to the 'PRIORITIZED PLANS' list.
- 'ADD ALL' button without selecting plans in the 'NON-PRIORITIZED PLANS' list to move all rows to the 'PRIORITIZED PLANS' list.
To rank the plans in order or authority, use the 'MOVE UP'/'MOVE DOWN' buttons to the right of the 'PRIORITIZED PLANS' list to reorder the plans in the list. The higher the plan in the list, the greater the authority.
If a 'PLAN' is in the 'PRIORITIZED PLANS' list, employees assigned to the 'PLAN' are not able to:
- Assign a new employee to a higher security plan than their current security plan when creating an employee and assigning a security plan to that employee.
- Assign an existing employee to a higher security plan than their current security plan when modifying the employee record and reassigning a security plan to that existing employee.
- Reassign the security plan of an employee whose current plan is ranked higher than the security plan of the employee reassigning the plan.
To remove prioritization, select a row or rows in the 'PRIORITIZED PLANS' list and click the 'REMOVE' button, or click the 'REMOVE ALL' button to move the plans back to the 'NON-PRIORITIZED PLANS' list.