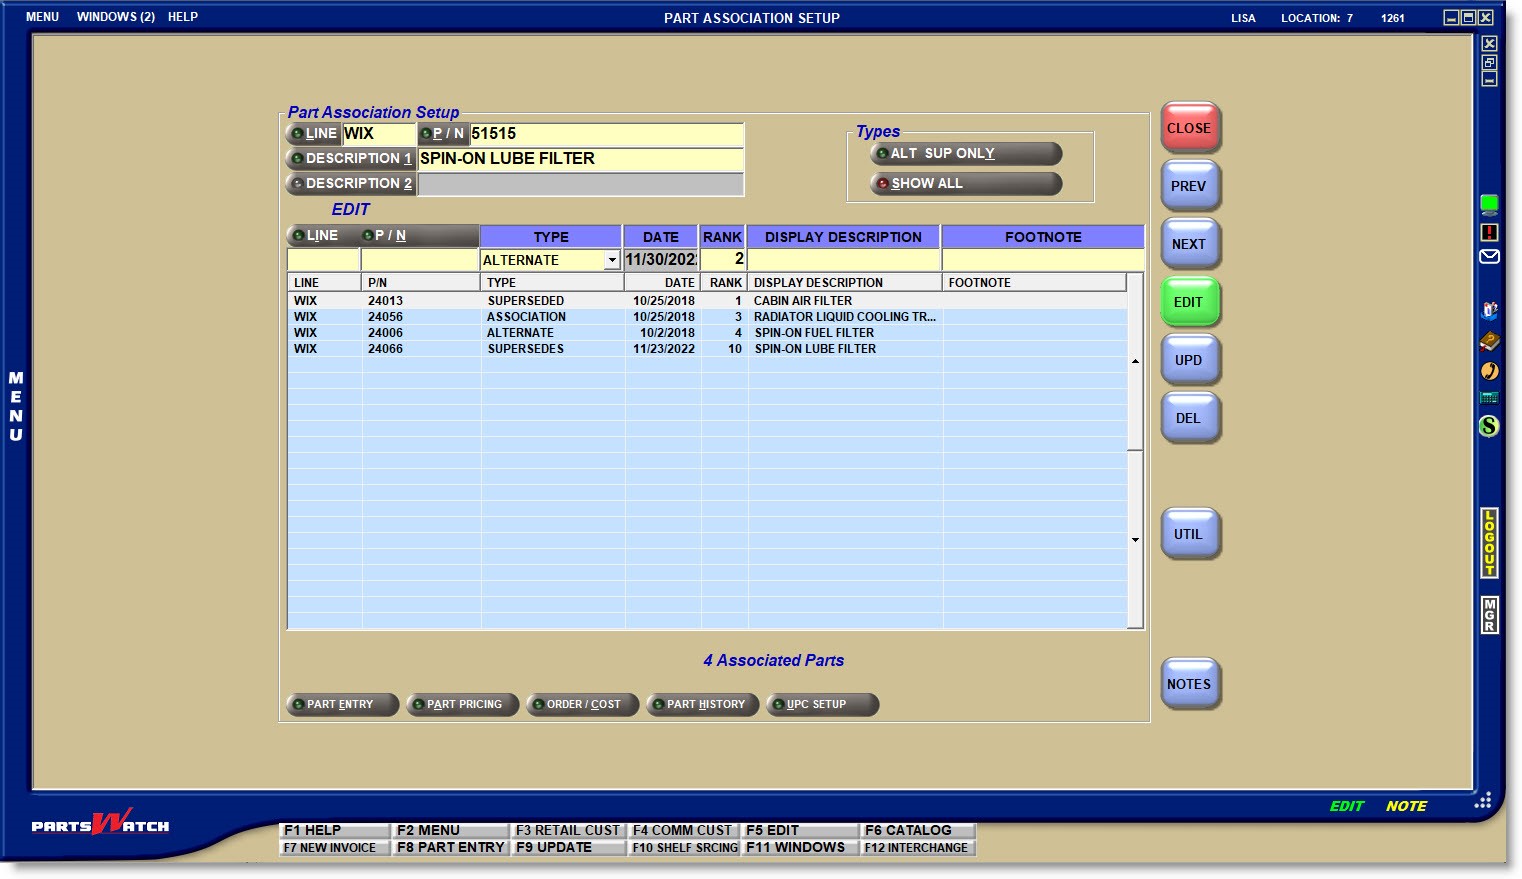
Part Association
Part Associations are used to:
- Set up multiple types of part relationships, for example: alternates, supersedes, substitutions and associations that are used instead of, or with, the original part.
- View Vendor Changeovers (VCOs) brought in via the Inventory Feed.
Non-SKU parts cannot be added as supersedes but can be set up as alternates for in-file parts. NIF parts cannot be set up.
Once setup is completed, the associations display for selection at Point-of-Sale and in CATALOG lookup.
Menu Path: Inventory, Part Entry, Part Association, PART ASSOCIATION SETUP screen, or
Menu Path: Inventory, Part Entry, Main Part Entry, MAIN PART ENTRY screen, 'ALT/SUP SETUP' button
Unlike most PartsWatch maintenance screens, the 'EDIT' and 'UPD' (update) buttons are not needed to add setups and are automatically enabled when editing setups.
Step 1: Enter the Line and "original" part under the 'Part Association Setup' section.
Enter 1-3 alphanumeric characters that represent a valid line code in PartsWatch.
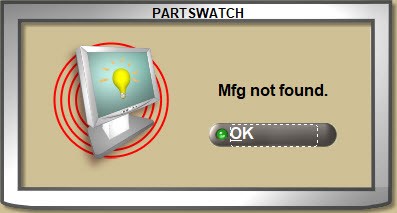
- If the value entered is not a valid Line Code, pressing the 'Enter' key moves the cursor to the 'P/N', however, without a part number, the system opens a pop-up stating that the Line Code is not found.
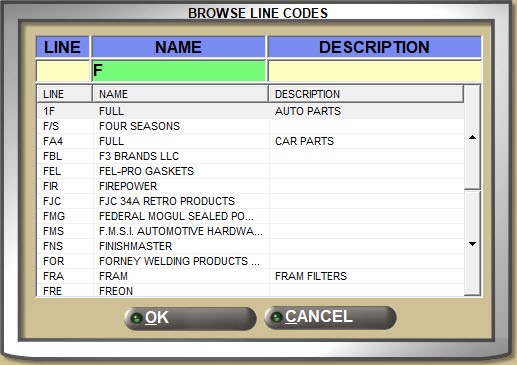
- Click the 'LINE' button to open the 'BROWSE LINE CODES' pop-up to search for a Line Code. Type-ahead functionality can be used to find a Line Code by 'LINE' code, line 'NAME', or line 'DESCRIPTION'.
With a 'LINE' displayed:
- Press the 'Enter' key at the 'P/N' field and the first part number from the part table in the Line Code 'SORT CODE' order displays with the part field attributes.
- Enter a valid Part Number in the 'P/N' field and press the 'Enter' key to display the part field attributes for that part.
- The system checks for "stripped" part numbers where letters (A through Z) and numbers (0 through 9) are valid and all other characters are ignored for a part number search.
- If the part number is not found, the system prompts to add it.
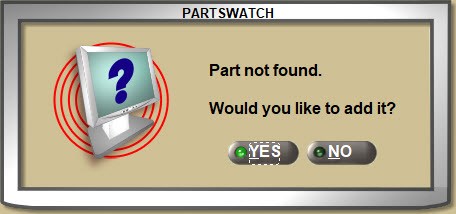
Answer 'YES' and the part is added.
Answer 'NO' and the 'P/N' field clears.
Without a 'LINE' displayed:
- Enter a Part Number and if a single match is found, it will display.
- If more than a single match is found, the 'Available Matches' window opens with all Line Codes that contain the entered part number. Select the correct one to display that Line and Part Number.
- If a match is not found, the cursor remains in the 'P/N' field waiting for a valid input.
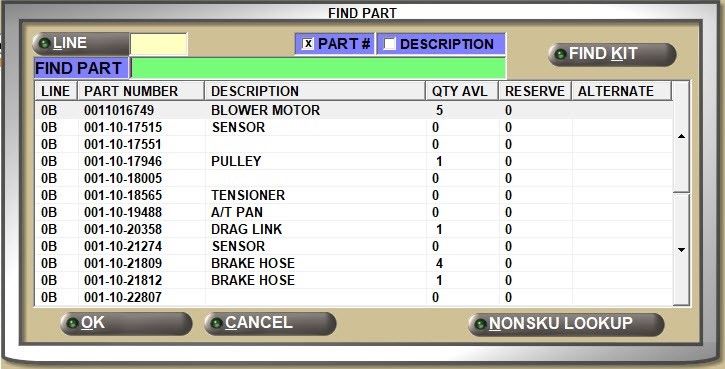
Click the 'P/N' button to open the 'FIND PART' window to search for a Part Number with or without a Line Code entered in the 'LINE' field.
Enter up to 255 alphanumeric and special characters that describe the part in focus.
Click the 'DESCRIPTION 1' button to open the 'FIND PART' window to search for parts by description. Focus is on the 'FIND DESC' field in the window.

Enter up to 255 alphanumeric and special characters that describe the part in focus with an additional description that, depending on the process, can be used with or instead of 'DESCRIPTION 1'.
The 'DESCRIPTION 2' button is not enabled for a search and instead, click the 'DESCRIPTION 1' button to locate a part from the 'FIND PART' window by description.
Step 2. Enter the setups.
Enter a valid Line Code that will be "associated" with the Line and Part Number in focus.
Click the 'LINE' button to open the 'BROWSE LINE CODES' pop-up to search for a Line Code. Type-ahead functionality can be used to find a Line Code by 'LINE' code, line 'NAME', or line 'DESCRIPTION'.
Enter a valid Part Number that will be "associated" with the Line and Part Number in focus.
Click the 'P/N' button to open the 'FIND PART' window to search for a Part Number with or without a Line Code entered in the 'LINE' field.
Select the type of association to be set up. Part Association types, with the exception of Vendor Changeover (VCO), display in the CATALOG display screen once a substitute record has been entered for that Part Number. The Part Number does not need to be a stocked part. Associations are viewed in the CATALOG screen in the 'i' (information) column.
Each part can only have one 'VCO' or 'SUPERSEDED' set up, not both. However, a part can have multiple 'ALTERNATE', 'ASSOCIATION', and/or 'SUBSTITUTION' setups.
Part types are:
- 'ALTERNATE' - Typically used as an equivalent replacement part from another manufacturer or a part that will fit the vehicle application, but is of lesser or better quality within the same manufacturer.
- 'ASSOCIATION' - Used as an additional Part Number along with any other parts being looked up by the electronic catalog interface.
Associated parts may be created to promote additional sales or to add notes to appear on the catalog display to assist in selecting the proper Part Number. An association enhances or corrects any of the catalog information being displayed about a particular Part Number. - 'SUBSTITUTION' - Used to totally replace the part number returned for display in the CATALOG display screen.
- 'SUPERSEDED' - Used as a part replacement created by the manufacturer for a number of reasons. The original part will typically remain in supply lines until it is no longer available, unless a recall has been issued.
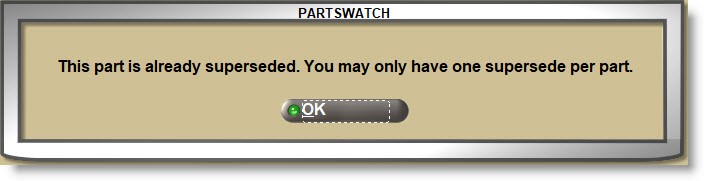
Only one 'SUPERSEDED' setup can be created. If one exists and another is added, the system prompts with a reminder.
NIF parts cannot be set up as 'SUPERSEDED'. The part must be added to the part table before being used as a supersede.

When adding a 'SUPERSEDED' part, pressing the 'Enter' key at the last setup field displays the 'ADD SUPERSEDE' pop-up.


- 'VENDOR CHANGEOVER' - Is the equivalent replacement part from a current manufacturer to a new manufacturer, and cannot be manually set up in the screen.
Vendor Changeovers are only added by the Inventory Feed and once a changeover has occurred, the old part is typically no longer active. The 'DO NOT REORDER' flag may be checked, and if used, assigned to a PN GROUP RULES table that has 'ALLOW SALE' unchecked. Changeover parts may be reintroduced if needed.
Displays the date the association was added to the part in focus.
Enter a number between ‘2’ and ‘9’ that represents the importance of the setup type. The lower the number, the higher it is stored in the grid. The 'RANK' can be edited to move a setup up or down in importance in the grid.
Rank ‘1’ is reserved for Supersedes and only one supersede can exist.
When displayed at Point-of-Sale, 'SUPERSEDED' types display first, then 'ALTERNATE', 'SUBSTITUTION', and 'ASSOCIATION' parts.
Displays 'DESCRIPTION 1' for the part if one exists. The description cannot be edited.
Optionally enter up to 36 alphanumeric and special characters as a "footnote" to the association.
The total number of Associated Parts set up for the part in focus displays below the grid for information only.
Double-click a 'SUPERSEDED' row to edit the 'FOOTNOTE' only. Double-click all other types to edit the 'RANK' and 'FOOTNOTE' only.
Double-click a row and click the 'DEL' (delete) button to delete it.
ALT SUP ONLY
Click the 'ALT SUP ONLY' button to display only 'ALTERNATE' and 'SUPERSEDED' setups in the grid.
SHOW ALL
Click the 'SHOW ALL' button to display all association setups in the grid regardless of type.
'UTIL
Whether the 'EDIT' button is enabled or not, click the 'UTIL' button to open a window with a number of features.
NOTES
Click the 'NOTES' button to display the 'INVENTORY NOTES' window used to set up a part note for Invoicing and/or Purchasing.