Quantity Adjust
The QUANTITY ADJUST screen is used to edit stock quantities and is normally used to update stock quantities when taking physical inventories.
Menu Path: Inventory, Part Maintenance, Quantity Adjust, QUANTITY ADJUST screen
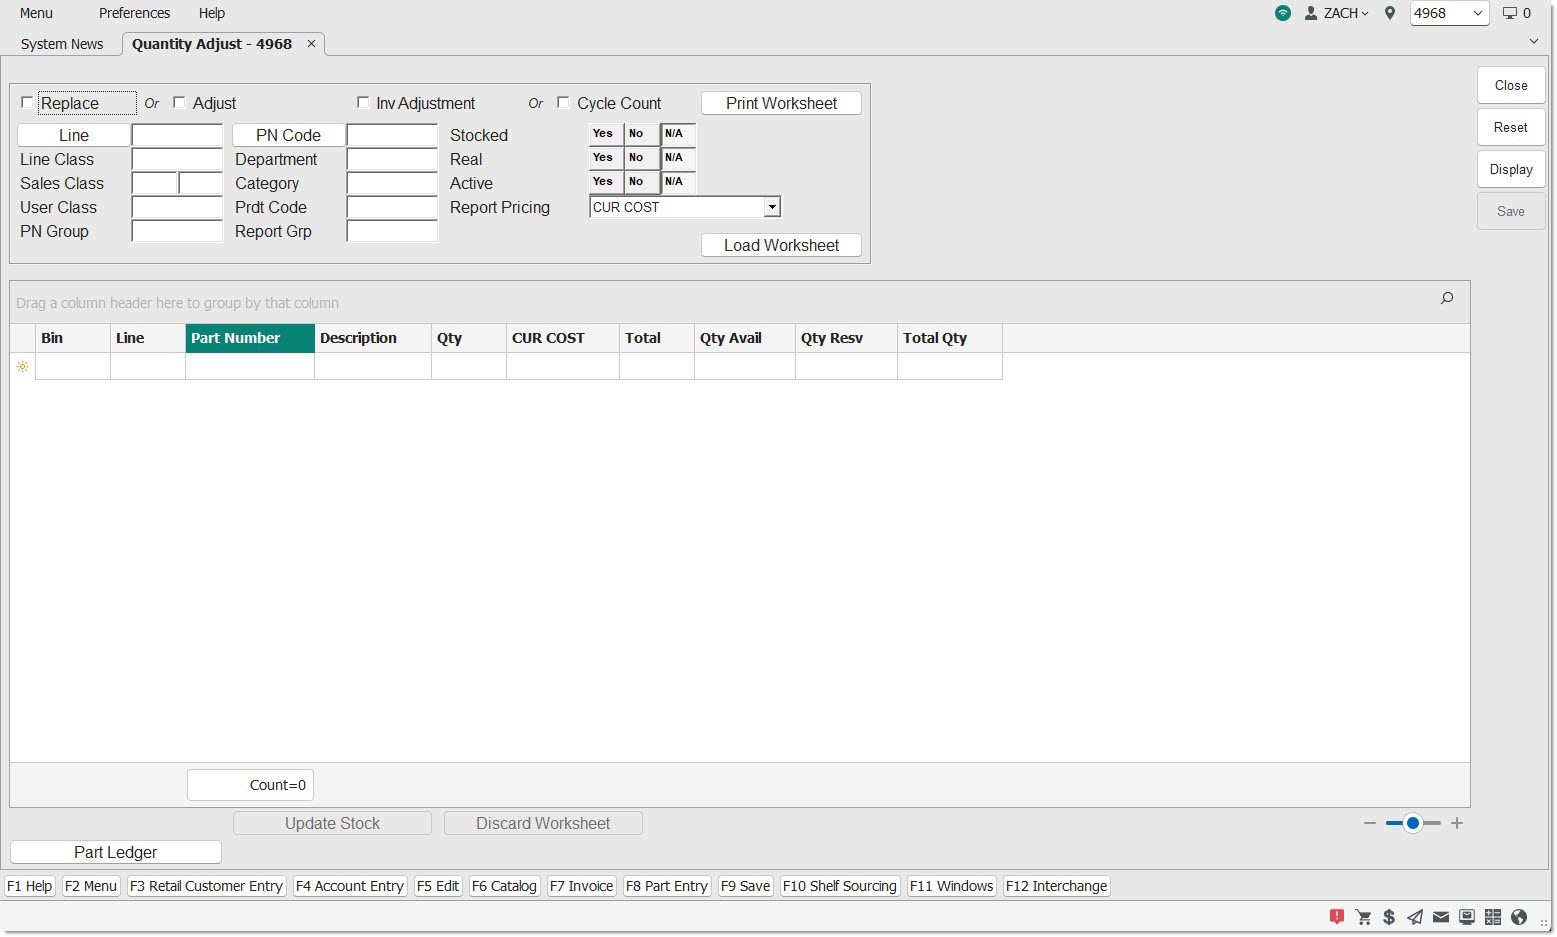
PRINT WORKSHEET
Optionally, click the 'PRINT WORKSHEET' button to open the INVENTORY COUNT REPORT. Select the desired criteria and print the parts. Use the worksheet to manually enter the actual shelf quantity for a manual inventory count.
-
If a 'Line' code value (e.g. WIX) exists in the 'Line' selector textbox, that value is passed on so it is displayed in the 'Line Code' selector textbox on the Inventory Count Report screen (when opened).
-
If a 'PN Code' value (e.g. 5) exists in the 'PN Code' selector textbox, that value is passed on so it is displayed in the 'P/N Code' selector textbox, on the Inventory Count Report screen (when opened).
-
If any of the additional fields below have an entered value in their respective textbox, those values are passed on, so they are displayed in the appropriate textbox on the Inventory Count Report screen (when opened):
-
'Line Class', 'Sales Class' (1 and 2), 'User Class', 'PN Group', 'Department', 'Category', 'Prdt Code', and 'Report Grp' (to 'RPT Group').
-
Load Worksheet
Click the 'Load Worksheet' button and the application:
-
Displays the prompt pop-up requesting the selection of the 'Adjust' or 'Replace' checkboxes, if both checkboxes are unchecked.
-
Does not display the prompt pop-up requesting the selection of the 'Inv Adjustment' or 'Cycle Count' checkboxes, if both checkboxes are unchecked. Note: These checkbox values are not used and recorded in the Part Ledger when a worksheet is used instead.
Click the 'Load Worksheet' button and if an 'Adjust' or 'Replace' checkbox is selected, the application displays the 'Browse Inventory Counts' pop-up (found on the Inventory Count Adjustment screen).
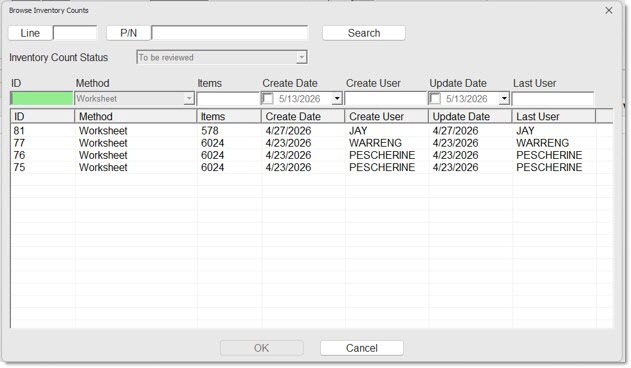

In the pop-up, highlight a worksheet and click the 'Ok' button. The application performs the following actions:
-
Clears both the 'Inv Adjustment' and 'Cycle Count' checkboxes.
-
Disables the four checkboxes ('Adjust', 'Replace', 'Inv Adjustment', and 'Cycle Count').
-
Disables the 'Load Worksheet' button.
-
Loads the screen's grid with all part items in the selected worksheet.
-
If the selected worksheet's status is 'To be Reviewed', changes the column title 'Qty' to 'Adjust Qty' or 'Replace Qty' based upon the current value of the 'Adjust' and 'Replace' checkboxes at the top of the screen. Widens the column width to ensure the full column title can be seen without scrolling.
-
Adds two new columns ('Variance Qty' and 'Variance Amount') to the grid, after the last existing column 'Total Qty', and adds a 'SUM=' for both columns in the grid's footer.
-
If the selected worksheet's 'Inventory Count Status' is one of the three 'Review Complete…' statuses, displays all grid rows as read-only, as no further updates are allowed.
-
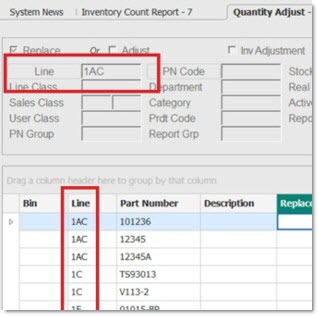
The saved worksheet may contain part items within multiple line codes. When this occurs, the application only displays the first line code loaded in the 'Line' field above the grid.
-
Note: When part items are loaded using the 'Display' button on the screen (without using a worksheet), only a single line code can be selected and loaded.
-
-
Populates the 'Bin' column (with a combined 'Zone'/'Bin' value for any part in the worksheet if a 'Zone' and/or 'Bin' value exists for the part on the Part Entry screen.)
-
Populates the 'COUNT=' in the grid's footer, with the number of part item rows loaded in the grid for the selected worksheet.
-
Displays the selected worksheet # below the grid.
-
Enables the 'Discard Worksheet' button below the grid.
REPLACE / ADJUST
Check either the 'REPLACE' field to enter the new quantities or the 'ADJUST' field to enter the changes to the existing quantities. If neither is selected, a reminder displays. Click 'OK' to continue.
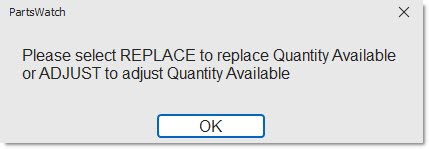
When the screen is opened, the application obtains the value of the 'Quantity Change Method' drop-down on the System Inventory Options screen, which can be 'Adjust Only', 'Replace Only', or 'Adjust and Replace'.
-
If the value obtained is 'Adjust Only', the 'Adjust' checkbox is automatically checked.
-
If the value obtained is 'Replace Only', the 'Replace' checkbox is automatically checked.
-
If the value obtained is 'Adjust and Replace', both checkboxes are left unchecked.
-
Note: Regardless of the default value initially set when the screen opens, the value can always be changed after the screen opens. This is different than the 'Inventory Count Adjustment' screen where the default value set cannot be changed.
Use to track whether the inventory stock quantity edits were done because of a manual inventory count or a Cycle Count.
If the 'FORCE REASON ON QUANTITY ADJUST SCREEN' setting is checked, then either 'INV ADJUSTMENT' or 'CYCLE COUNT' must be checked in order to track the changes as a manual inventory count or a 'CYCLE COUNT' if running a cycle count before editing the stock quantities. If unchecked, then the 'INV ADJUSTMENT' field is checked by default but can be changed for the session.
- If 'INV ADJUSTMENT' is checked, any changes to stock quantities in the current session will be tracked to the Part Ledger Report as manual adjustments with the tracking code of 'QUA'.
- If 'CYCLE COUNT' is checked, any changes to stock quantities in the current session will be tracked to the Part Ledger Report as cycle count adjustments with the tracking code of 'CCA'.
If neither is selected, a reminder displays. Click 'OK' to continue.
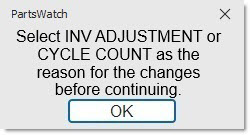
To report 'INV ADJUSTMENT' or 'CYCLE COUNT' changes, enter 'QUA' or 'CCA' in the 'DETAIL' field on PART LEDGER REPORT. The output is narrowed by stock edits from the QUANTITY ADJUST screen or leave the field blank to output all edits in the 'DETAIL' field on the report output.
Enter a Line Code, or click the 'LINE CODE' button to open the 'BROWSE LINE CODES' window to select a Line Code. The parts grid automatically populates with all parts in the selected line.
PN CODE
Optionally enter a PN Code to narrow the parts for editing, or click the 'PN CODE' button to open the 'P/N CODE SELECTION' window to select a PN Code.
Additional part filters and attributes from the part maintenance screens are available to narrow the parts displayed for edit.
- 'LINE CLASS'
- 'SALES CLASS'
- 'USER CLASS'
- 'PN GROUP'
- 'DEPARTMENT'
- 'CATEGORY'
- 'PRDT CODE'
- 'REPORT GROUP'
- 'STOCKED' / 'REAL' / 'ACTIVE'
REPORT PRICING
Click the drop-down field and optionally select the cost level to display on the screen:
- 'AVG COST'
- 'CUR COST'
The 'COST AND REPORT PRICING' security proc controls access to the field.
Edit Stock Quantities Grid
To edit the full line: With a 'LINE' Code selected, click the 'DISPLAY' button and the grid fills with all parts in the line narrowed by the part filters selected. Edit the stock quantity in the 'QTY' field for each part and press the 'Enter' key to move the cursor to the next part. Use the up/down arrow keys to move the cursor to the next/previous parts in the list to edit the parts as needed.
To edit one part at a time: With a 'LINE' Code selected, click the 'PART NUMBER' field and either press the 'Enter' key to display the first part in the line, or enter the first part to edit and press the 'Enter' key. The grid displays the part information. Edit the stock quantity in the 'QTY' field for the part and press the 'Enter' key to display the next part in the line depending on the part filters selected.
Click the 'Discard Worksheet' button and if:
-
There are no part item grid edits, and no previously saved grid edits, the application sets the 'Inventory Count Status' of the worksheet to 'Review complete discarded', and auto-clicks the 'Reset' button.
-
There are part item grid edits or previously saved grid edits, the application displays the prompt pop-up "Discard Worksheet? Are you sure you want to continue?"
-
Click the 'Yes' button, and the application sets the 'Inventory Count Status' of the worksheet to 'Review complete discarded', and auto-clicks the 'Reset' button.
-
Click the 'No' button to return focus to the screen.
-
Update Stock
Click the 'Update Stock' button to adjust part stock quantities whether using a “worksheet” or not. Note: When a worksheet is used for adjusting part stock quantities, and this 'Update Stock' button is clicked, and updates are made to any part stock quantity, no further updates to any part stock quantities using this same worksheet can be applied.
A prompt pop-up displays asking you to confirm:
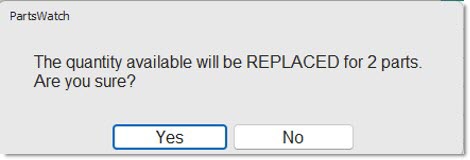
Note: This is the same pop-up used on the Inventory Count Adjustment screen. This pop-up displays whether part stocking quantities are being replaced or adjusted, and a count of the number of parts with stock quantities being updated.
Click 'No' to skip all updates and return focus to the screen.
Click 'Yes' and the application:
-
Updates any appropriate part's stock quantity. Note: In the sample pop-up above, 2 parts will be updated regardless of how many parts were in the grid.
-
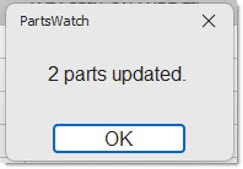
Displays a prompt pop-up indicating how many part quantities were updated, see sample pop-up below:
-
If a worksheet is not being used, the application updates the 'Detail' field in the 'Part Ledger' to a value of 'QUA' or 'CCA' depending upon the 'Inv Adjustment' or 'Cycle Count' checkbox that is checked.
-
If a worksheet is being used, the application:
-
Updates the 'Detail' field in the 'Part Ledger' to a value of 'Worksheet'.
-
If there is at least one part with an edit quantity that does not match the current value of that part's stock quantity, changes the status of the selected worksheet to 'Review complete with updates'.
-
-
Auto-clicks the 'Reset' button. Note: If using a worksheet, no further updates can be made using that worksheet.
Part Ledger
Click to navigate to the Part Ledger screen. The Quantity Adjust screen remains open.
Function Buttons
If the 'Close' button is clicked and there are no grid edits, the screen is closed.
If the 'Close' button is clicked and there are grid edits, a “Save Changes?” pop-up displays. Click 'Yes' to save grid edits. When working with a worksheet, clicking 'Yes' will not update part stock quantities. Click 'No' to close the screen without saving changes. Click 'Cancel' to return to the screen without closing it.
If the 'Close' button is clicked and there are grid edits, but you are not working with a worksheet, the prompt will instead read “Update Stock?”. Click 'Yes' to update part stock quantities and automatically click the 'Close' button. Click 'No' to skip all updates and close the screen. Click 'Cancel' to return to the screen without closing it.
Reset
Click the 'Reset' button and if there are no grid edits, the screen resets.
If the 'Reset' button is clicked and there are grid edits, a “Save Changes?” pop-up displays. Click 'Yes' to save grid edits. When working with a worksheet, clicking 'Yes' will not update part stock quantities. Click 'No' to reset the screen without saving changes. Click 'Cancel' to return to the screen without resetting it.
If the 'Reset' button is clicked and there are grid edits, but you are not working with a worksheet, the prompt will instead read “Update Stock?”. Click 'Yes' to update part stock quantities, display a prompt with the number of parts updated, and automatically click the 'Reset' button. Click 'No' to skip all updates and reset the screen. Click 'Cancel' to return to the screen without resetting it.
Display
Note: The 'Display' button is always disabled when working with a worksheet.
If there are no grid edits, click to re-populate the grid.
If the 'Display' button is clicked and there are grid edits, a prompt will pop-up and read “Update Stock?”. Click 'Yes' to update part stock quantities, display a prompt with the number of parts updated, and automatically click the 'Display' button. Click 'No' to skip all updates and display the screen. Click 'Cancel' to return to the screen without displaying anything.
Save
The 'Save' button is only enabled when using a “worksheet”, and only if that worksheet is loaded into the screen's grid, and the contents of the grid have been edited, but not saved.
Click the 'Save' button to save any grid edits made for the selected worksheet.
Click the 'Save' button to save the 'Adjust or 'Replace' checkbox that was selected.
Clicking the 'Save' button does not save the 'Inv Adjustment' or 'Cycle Count' checkbox that was selected. Note: These checkbox values are not used when using worksheets.
Clicking the 'Save' button changes the 'Inventory Count Status' to 'Review in progress' for the selected worksheet.
Finally, the application returns focus to the grid and disables the 'Save' button.
Note: Clicking this 'Save' button does not update any part's stock quantity. Only clicking the 'Update Stock' button updates part stock quantities.