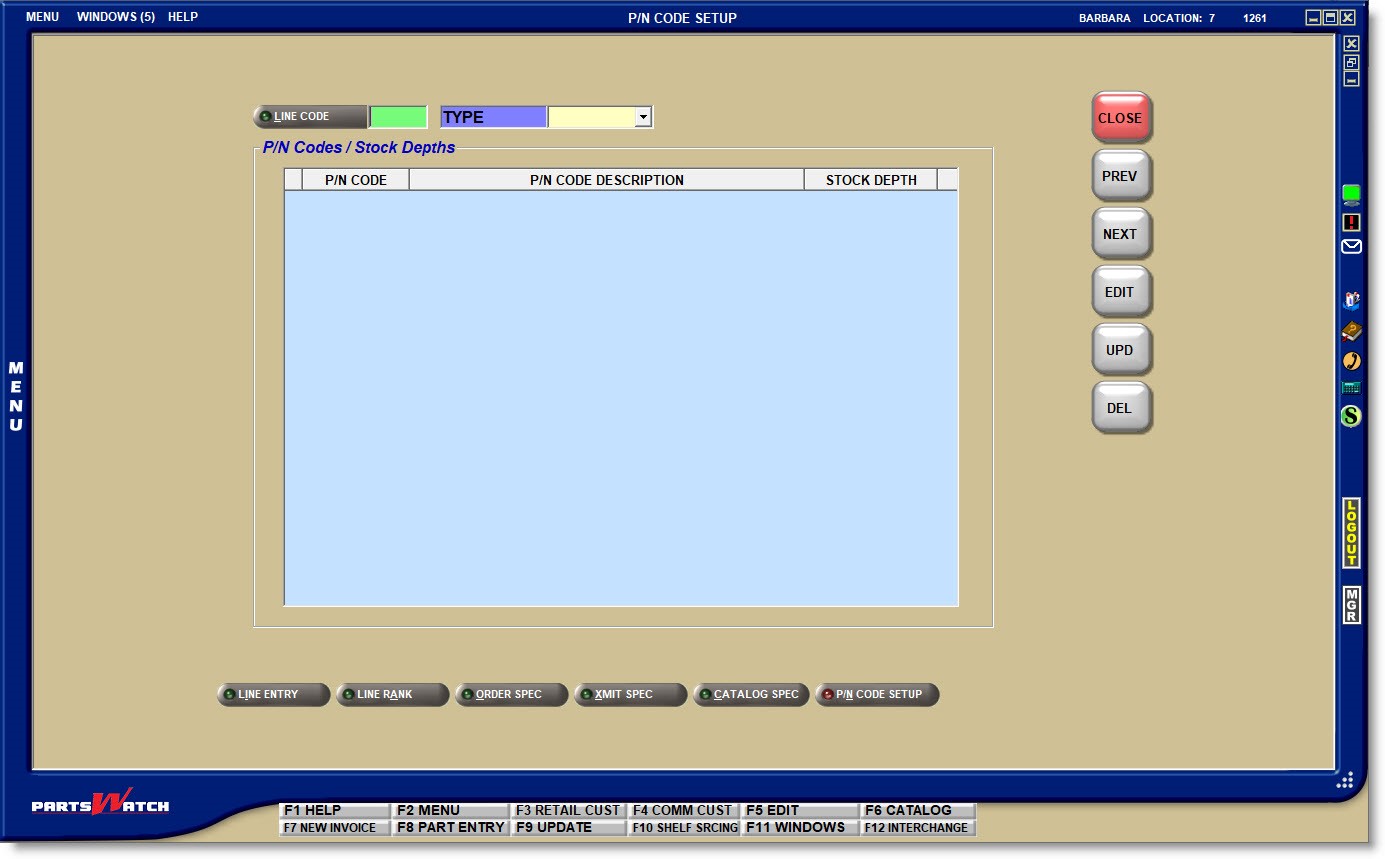
P/N Code Setup
The P/N CODE SETUP screen is used to enter the P/N Codes used as "sublines" per Line Code in order to "group" like parts together under the Line Codes.
Menu Path: Vendor, Line, P/N Code Setup, P/N CODE SETUP screen
P/N CODES must be set up on the P/N CODE SETUP screen in order to be available as 'P/N CODE' part filters.
LINE CODE
Enter a Line Code, or click the 'LINE CODE' button to open the 'BROWSE LINE CODES' window to select a Line Code. The 'EDIT' button is disabled until a Line Code is in focus.
TYPE
Displays the part type for information only.
Adding P/N Codes
With a 'LINE CODE' selected, click the 'EDIT' button ('F5' key), and the data entry fields display.
Enter up to 3 alphanumeric/special characters as a 'P/N CODE' and:
- Press the 'Enter' key to move the value to the bottom of the grid. The cursor remains in the 'P/N CODE' data entry field to enter the next 'P/N CODE'. Optionally click the 'P/N CODE DESCRIPTION' field in the grid to enter a description and/or the 'STOCK DEPTH' field to enter a stock depth.
- After entering the 'P/N CODE', click the 'P/N CODE DESCRIPTION' field in the grid to enter a description and/or click the 'STOCK DEPTH' field in the grid to enter a stock depth.
Note: The 'STOCK DEPTH' is for information only and is not used within the application.
Editing P/N Codes
Once added, 'P/N CODES' cannot be edited. However, click the 'P/N CODE DESCRIPTION' or 'STOCK DEPTH' field to edit those values on an existing P/N Code.
Deleting P/N Codes
Highlight a row in the grid and click the 'DEL' button or press the 'Delete' keyboard key to permanently delete a P/N Code. A prompt opens warning that the P/N Code will be permanently deleted and will be removed from all parts currently set with that P/N Code.

Answer 'OK' to delete the P/N Code, or 'NO' to abort the deletion.
When P/N Codes are added or changes are made and 'UPD' is clicked, or 'CLOSE', 'PREV', or 'NEXT' is clicked without first clicking 'UPD', the 'SAVE CHANGES' pop-up displays.
For multi-stores: Clicking the 'UPD' button opens a pop-up to select the locations to save the changes in, depending on employee setups:
- The ALLOW SAVE LINE INFO IN MULTIPLE LOCATIONS User Security restriction must be enabled for edit.
- The fields on the EMPLOYEE SETUP screen allow access to more than one location.

The pop-up defaults to the current location. Click the 'SAVE IN LOCATIONS' button to open the multi-select 'BROWSE LOCATIONS' window and check, one, multiple, or all locations. Answer 'YES' to save the changes to the selected locations.